
How to Fix Leaking Pipes in Wall

Water pooling behind your wall? It usually means a pipe is leaking. Below you’ll find a clear, step‑by‑step plan to find the source, get to it safely, and fix it for good.
Step 1: Locate the Leak
First, look for the tell‑tale signs: damp spots on drywall, a musty smell, or a sudden rise in your water bill. Run a water‑meter test by turning off every faucet, then watching the meter; if it moves, water is escaping somewhere hidden.
Next, check for active drips. A quiet hiss can be heard with a simple stethoscope placed against the wall. If you spot a wet patch, trace it back to the nearest plumbing fixture and note the height, water rises and runs down, so the leak is often above the wet area.
When the leak seems to be inside a wall, consider the age of the piping. Homes built before 1985 often have galvanized steel that corrodes over time. The hidden danger in pre‑1985 Orange County homes explains why these pipes fail and why early detection matters.
Key Takeaway:A simple water‑meter test can confirm a hidden leak before you tear into the wall.
Step 2: Choose a Detection Method
There are three main ways to pinpoint a hidden pipe leak without massive demolition. Low‑tech tools like a stud sensor set to metal‑detect mode help you map the pipe run behind drywall. A moisture meter spots areas where the wall has absorbed water, giving you a hot‑spot to investigate.
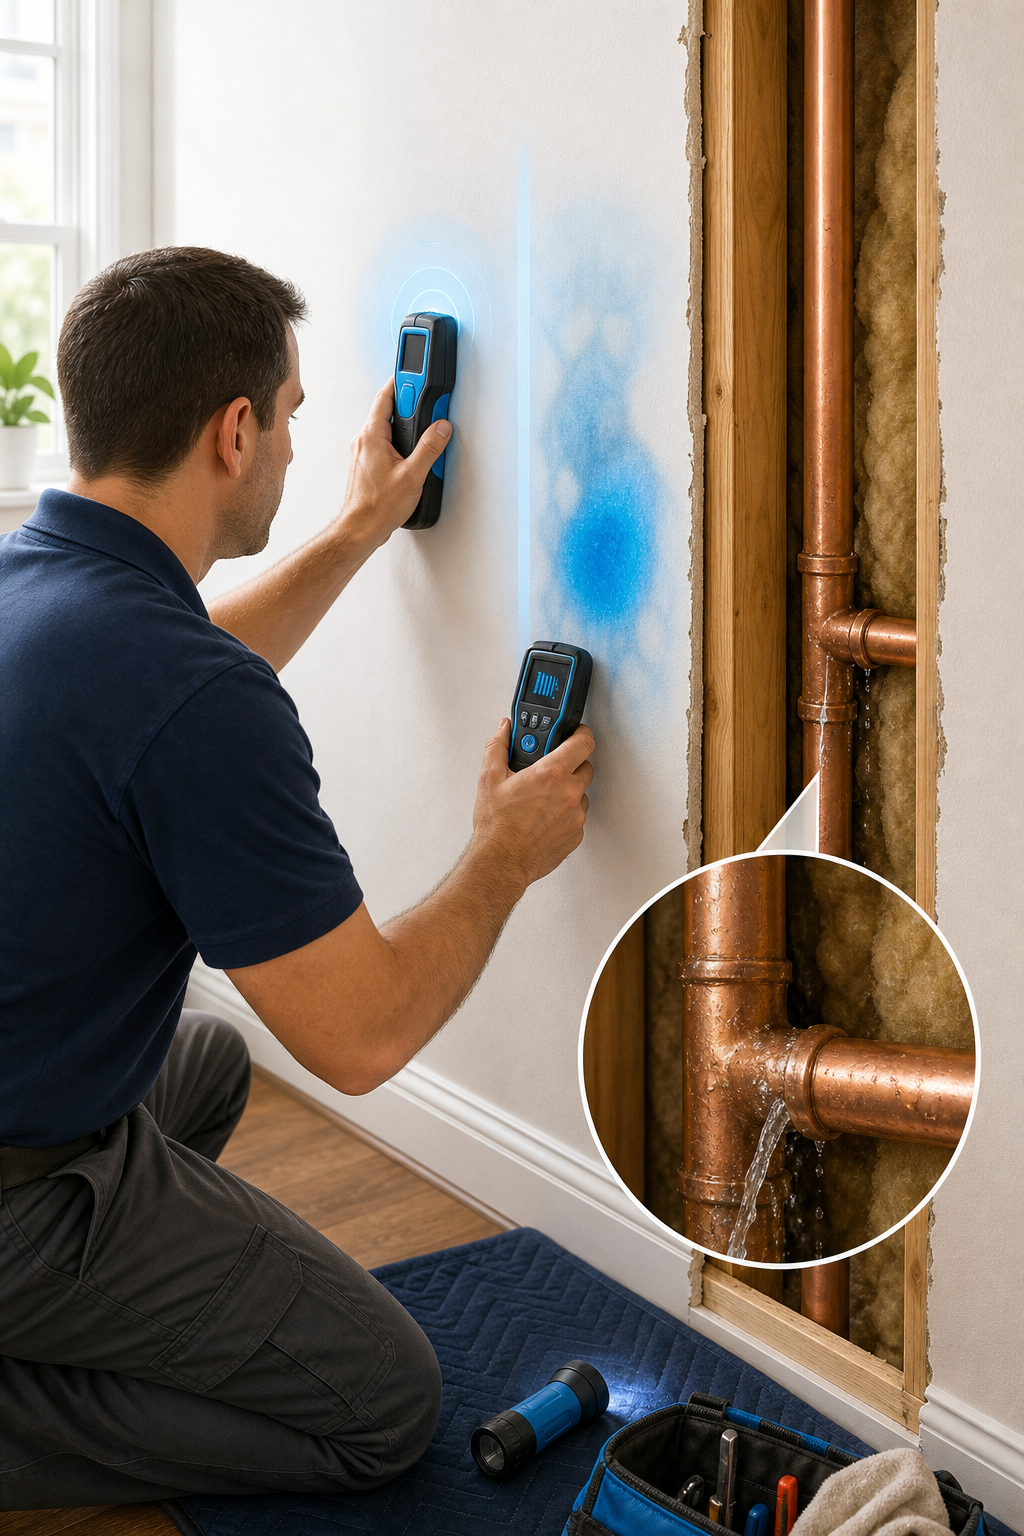
Higher‑tech options include a fiber‑optic camera that slides through a small drilled hole, showing the pipe interior on a screen. An ultrasonic sensor listens for the high‑frequency sound of water escaping under pressure. Both methods give you visual confirmation before you cut into the wall.
Professional leak hunters often combine tools for accuracy. Repipe OC’s free leak‑detection service uses a capacitive proximity detector, infrared cameras, and moisture meters to locate the exact spot.
Pro Tip:Start with the least invasive tool (stud sensor) and move to camera inspection only if the first method doesn’t pinpoint the leak.
Combining moisture measurement with sound detection often yields high success rates for wall‑embedded leaks.
Step 3: Access the Pipe Safely
Once you know where the leak is, you need a clean opening. Use a drywall saw to cut a small square, about 12×12 inches, centered on the hot‑spot. Cut carefully to avoid electrical wires or HVAC ducts that may share the cavity.
Before you cut, shut off the main water supply and release pressure by opening the nearest faucet. This prevents a gush of water when you breach the pipe.
After the opening, clear away insulation and any debris. If you see a small crack, a common method is to cut the pipe, seal the sections before and after the wall entry, and pressurize with air to monitor for pressure loss. Larger damage will require cutting the pipe section out.
For slab‑type leaks that travel under the foundation, Repipe OC’s slab‑leak guide recommends a pressure‑test method to confirm the exact location before any digging.
Step 4: Repair or Replace the Pipe
For small pinhole leaks, a common method is to cut the pipe, seal the sections on either side of the suspected leak, and pressurize the line with air to confirm the leak location before applying a targeted repair.
When the pipe is corroded or repeatedly leaking, replace the entire section. Cut out the bad piece, fit a new length of PEX or copper, and join with appropriate fittings. Make sure each joint is tight and test for pressure before closing the wall.
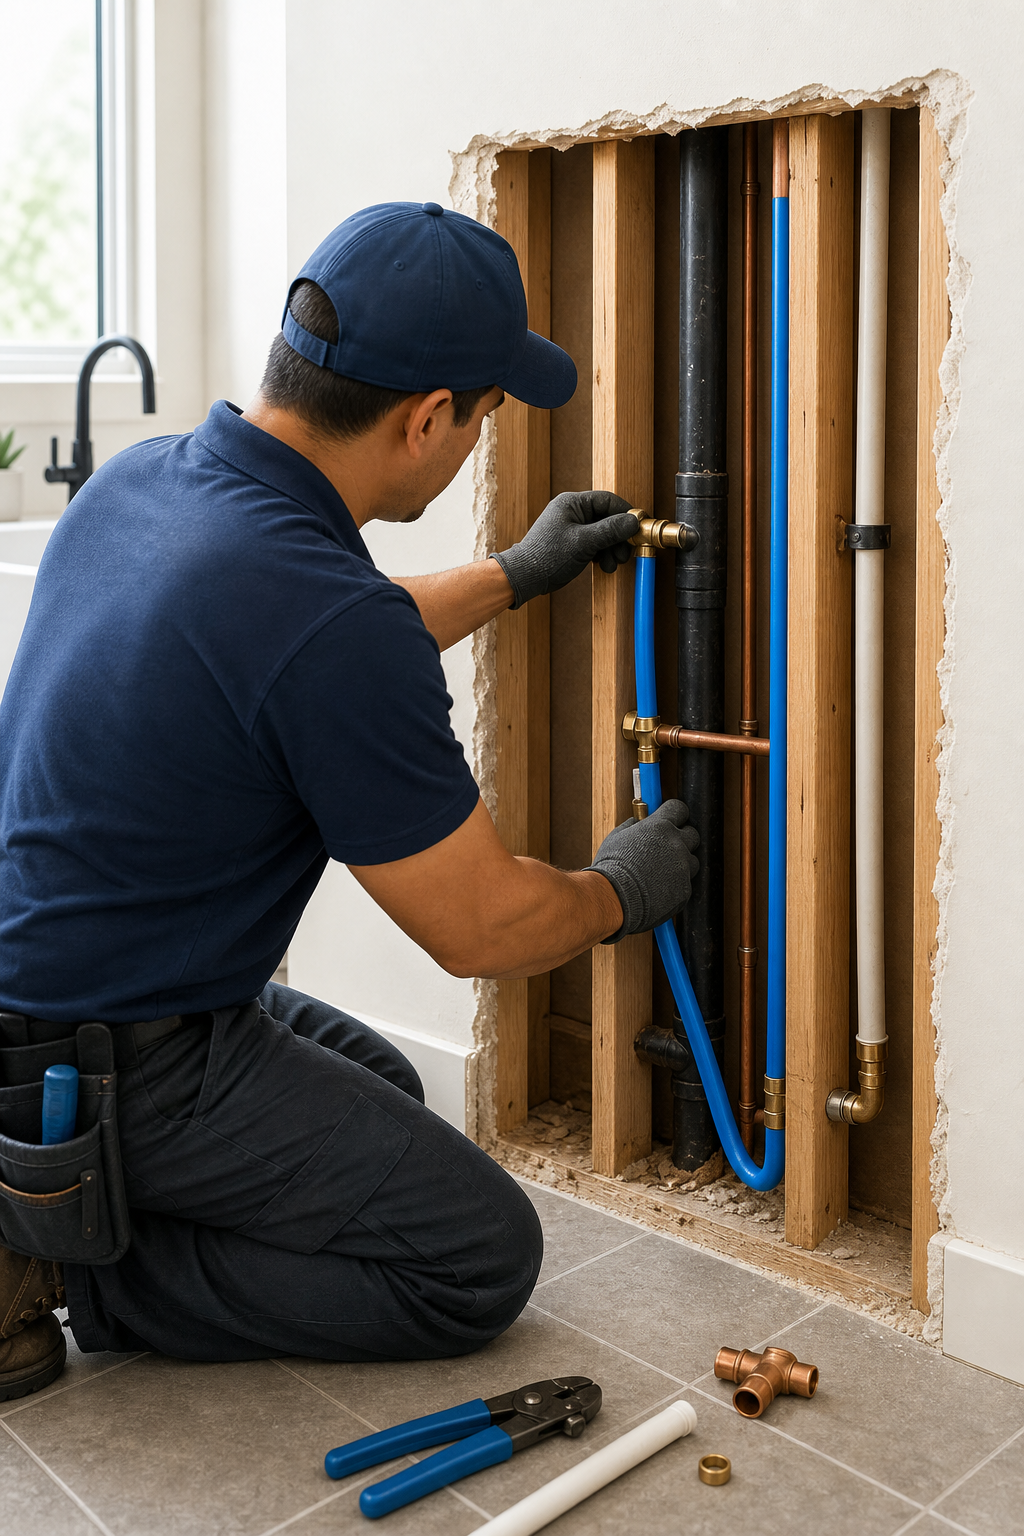
After the repair, pressurize the system and watch for drops. If the pressure holds, seal the drywall opening with new drywall, tape, and paint to match the surrounding surface.
Method | Best For | Pros | Cons |
Cut, seal and pressurize | Small pinhole | Reliable method required by some jurisdictions | Invasive, requires cutting wall and pipe |
Full pipe replace | Severe damage | Permanent fix | More labor, higher cost |
If you’re unsure whether a repair will hold, Repipe OC recommends a whole‑house repipe . Their 25‑year transferable warranty covers both parts and labor, so you won’t face recurring leaks.
For ongoing peace of mind, consider signing up for Repipe OC’s water‑leak detection service . The team uses stethoscope listening and mirror inspection to catch future leaks before they cause damage.
FAQ
How can I tell if the leak is behind a wall?
Look for damp spots, a musty odor, or a rising water bill, and run a water‑meter test with all fixtures off; movement indicates a hidden leak.
Do I need to shut off water before cutting the wall?
Yes, turn off the main supply and open the nearest faucet to release pressure before you cut any opening.
What tool is best for a DIY homeowner?
A stud sensor with metal‑detect mode and a moisture meter are affordable and give reliable clues without drilling.
Can I use epoxy putty as a permanent fix?
No, epoxy putty only offers a temporary seal; the pipe will likely fail again within weeks or months.
When should I call a professional?
If the pipe is corroded, you see multiple leaks, or you lack the tools to safely access the pipe, call a licensed plumber right away.
For a lasting solution, we recommend a professional repipe from Repipe OC . Get a free on‑site estimate today and protect your home from future water damage.

Comments